


Why Your Sound System Isn't Working (And How to Fix It Without Breaking the Budget)
- Tim Adams

- Feb 17
- 5 min read
Updated: Mar 30
You're minutes away from service starting. The worship team is ready, the congregation is filing in, and then, nothing. Dead silence. Or worse, an obnoxious buzz that makes everyone wince.
Sound system failures are frustrating, but here's the good news: most audio problems don't require expensive replacements or emergency service calls. In fact, the majority of issues stem from cables, connections, or power, all things you can troubleshoot yourself without spending a dime.
Let's walk through a practical, budget-friendly approach to diagnosing and fixing your sound system issues.
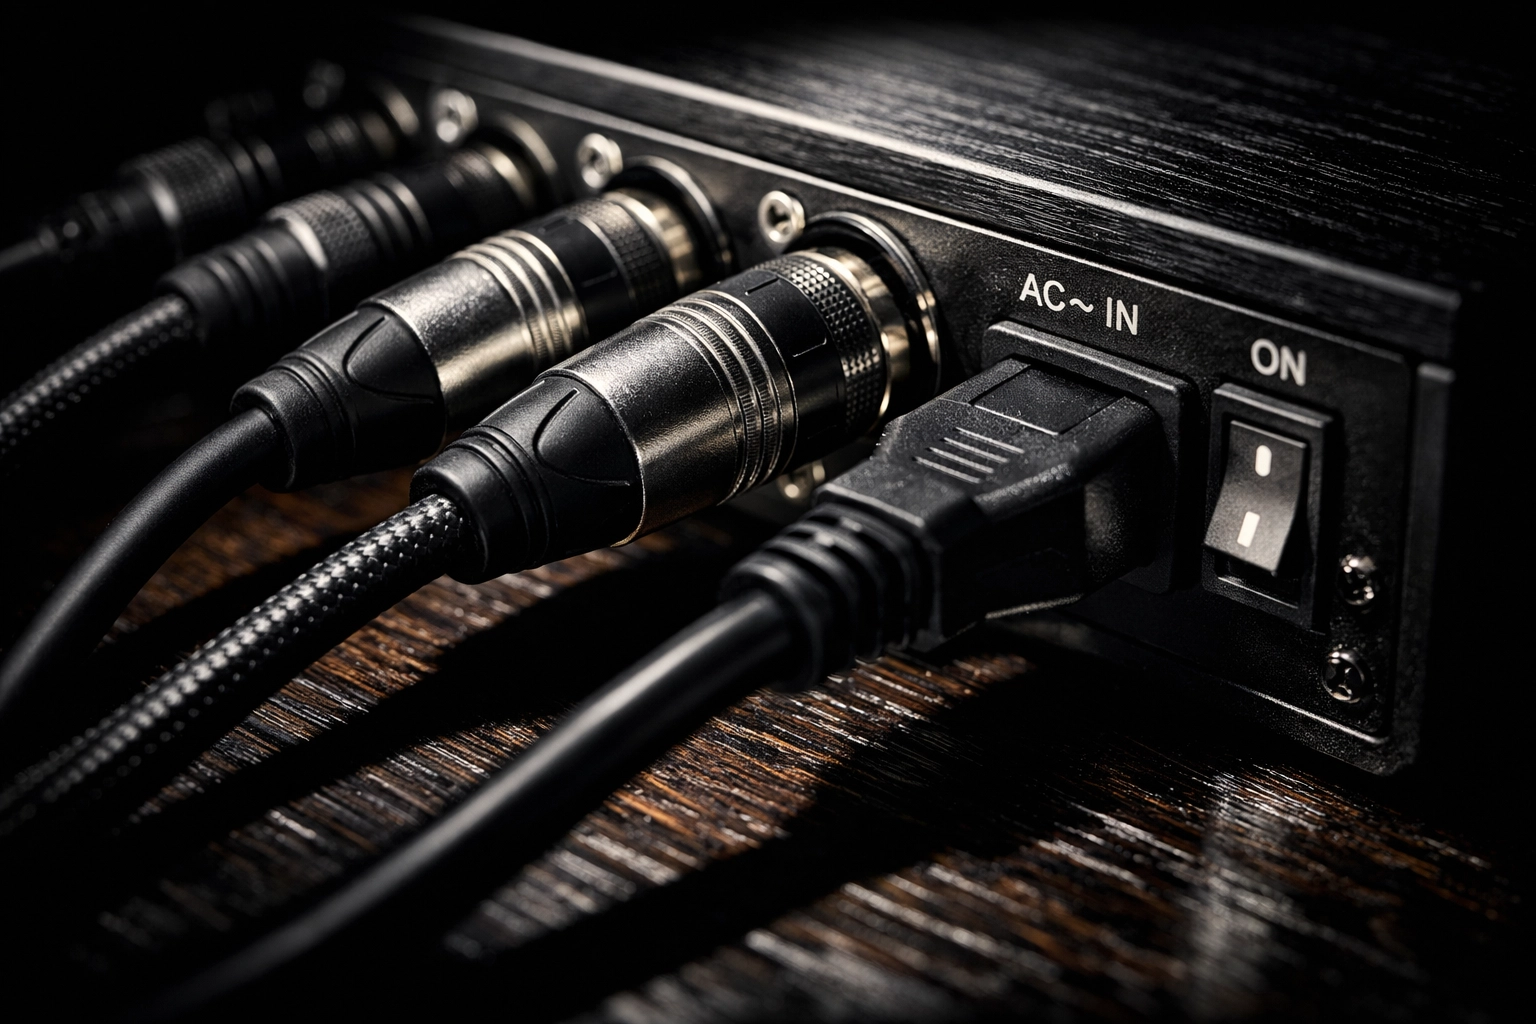
Start with the Obvious: Power and Connections
Before you panic or start Googling replacement equipment, check the basics. You'd be surprised how often the "broken" sound system is simply unplugged or connected incorrectly.
First, verify power. Plug a lamp into the same outlet your system uses. If the lamp doesn't work, you've found your problem, it's not your equipment at all. Check your breaker box or try a different outlet.
Next, trace every power cable. Make sure each component, your mixer, amplifier, speakers, and any processors, is firmly connected to power. Give each plug a gentle tug. If it comes loose, you've found your culprit.
Then inspect your cables. Look for obvious damage: frayed wires, bent connectors, or cables that look like they've been run over by a cart (because they probably have). Even cables that look fine externally can fail internally, so don't rule out a cable just because it appears intact.
The Detective Work: Trace Your Signal Path
Think of your audio system as a chain. Sound travels from your source (a microphone, instrument, or playback device) through your mixer, possibly through processors or effects units, then to your amplifier, and finally to your speakers. The problem exists somewhere along that chain.
Start at the source. If you're testing a microphone, speak into it while watching your mixer's input meter. Do you see the levels move? If yes, the mic and cable to the mixer are fine. If no, swap the cable or try a different microphone.
Follow the signal forward. Check each connection point along the way. At your mixer, are the channel levels up? Is the main output level up? Are you sending signal to the correct outputs? It sounds basic, but a fader accidentally left down or a mute button engaged explains a lot of "broken" systems.
Test at the amplifier. Many amplifiers have signal indicators or meters. Are they showing that signal is arriving? If your amplifier is receiving signal but speakers are silent, you've narrowed the problem to either the amplifier itself or the speaker cables.
End at the speakers. If everything upstream checks out but you have no sound, the issue is either your speaker cables or the speakers themselves.
The Isolation Method: Divide and Conquer
If your signal tracing doesn't reveal an obvious problem, it's time to simplify. Disconnect everything except your most basic setup: one source, your mixer, one amplifier, and one speaker.
Play audio and test. Does it work? Great: now add one component at a time until the problem reappears. When you add a component and lose sound, you've identified the faulty link.
This methodical approach prevents you from replacing expensive equipment unnecessarily. Maybe your amplifier is fine, but the cable connecting it to your mixer is bad. A $15 cable replacement beats a $500 amplifier replacement any day.

Common Problems and Their Free (or Nearly Free) Fixes
Intermittent Sound or Crackling
If sound cuts in and out or you hear crackling, you're dealing with a connection issue. Wiggle each cable at both ends while audio is playing. If the sound changes when you move a cable, that cable needs replacement.
Check for oxidation on connectors: that greenish or white buildup on metal contacts. A little contact cleaner (a $5 can that lasts years) can restore a connection, or simply unplugging and re-plugging a connector several times can scrape off light corrosion.
One Speaker is Dead, the Other Works Fine
Swap the two speakers. If the dead speaker now works on the other channel, your speaker is fine: the problem is in your amplifier channel or the cable feeding it. If the speaker stays dead regardless of which channel it's connected to, the speaker itself (or its internal wiring) is the problem.
Before assuming a speaker is toast, check inside the connector. Sometimes strands of speaker wire touch each other, creating a short that silences the speaker. Carefully separate the wires and ensure only the positive wire touches the positive terminal and the negative touches negative.
Distortion or Muddy Sound
This often means your levels are set wrong. Check that you're not overdriving your mixer (clipping indicators flashing red) or your amplifier. If your signal is too hot, you'll get distortion no matter how good your equipment is.
Also verify speaker wire polarity. If you've connected one speaker with reversed polarity compared to the other, they'll partially cancel each other out, resulting in weak, thin sound. Match red to positive and black to negative on every connection.
Persistent Hum or Buzz
A ground loop or electrical interference usually causes this annoying sound. Try plugging all your audio equipment into the same power strip connected to a single outlet. This ensures everything shares the same electrical ground.
If that doesn't help, route your audio cables away from power cables. Power cables create electromagnetic interference that audio cables can pick up, especially if your cables are unshielded or low quality.
For a persistent buzz that only appears when certain components are connected, try reversing the power plug orientation on one component (if it's a non-polarized plug). Sometimes this breaks a ground loop.
When to Spend Money (Wisely)
After you've exhausted free troubleshooting, you might need to buy something. Here's where to invest:
Quality cables. If your cables are old or bargain-bin specials, upgrading to decent shielded cables can eliminate interference and connection issues. You don't need gold-plated audiophile cables, but you do need cables built to last.
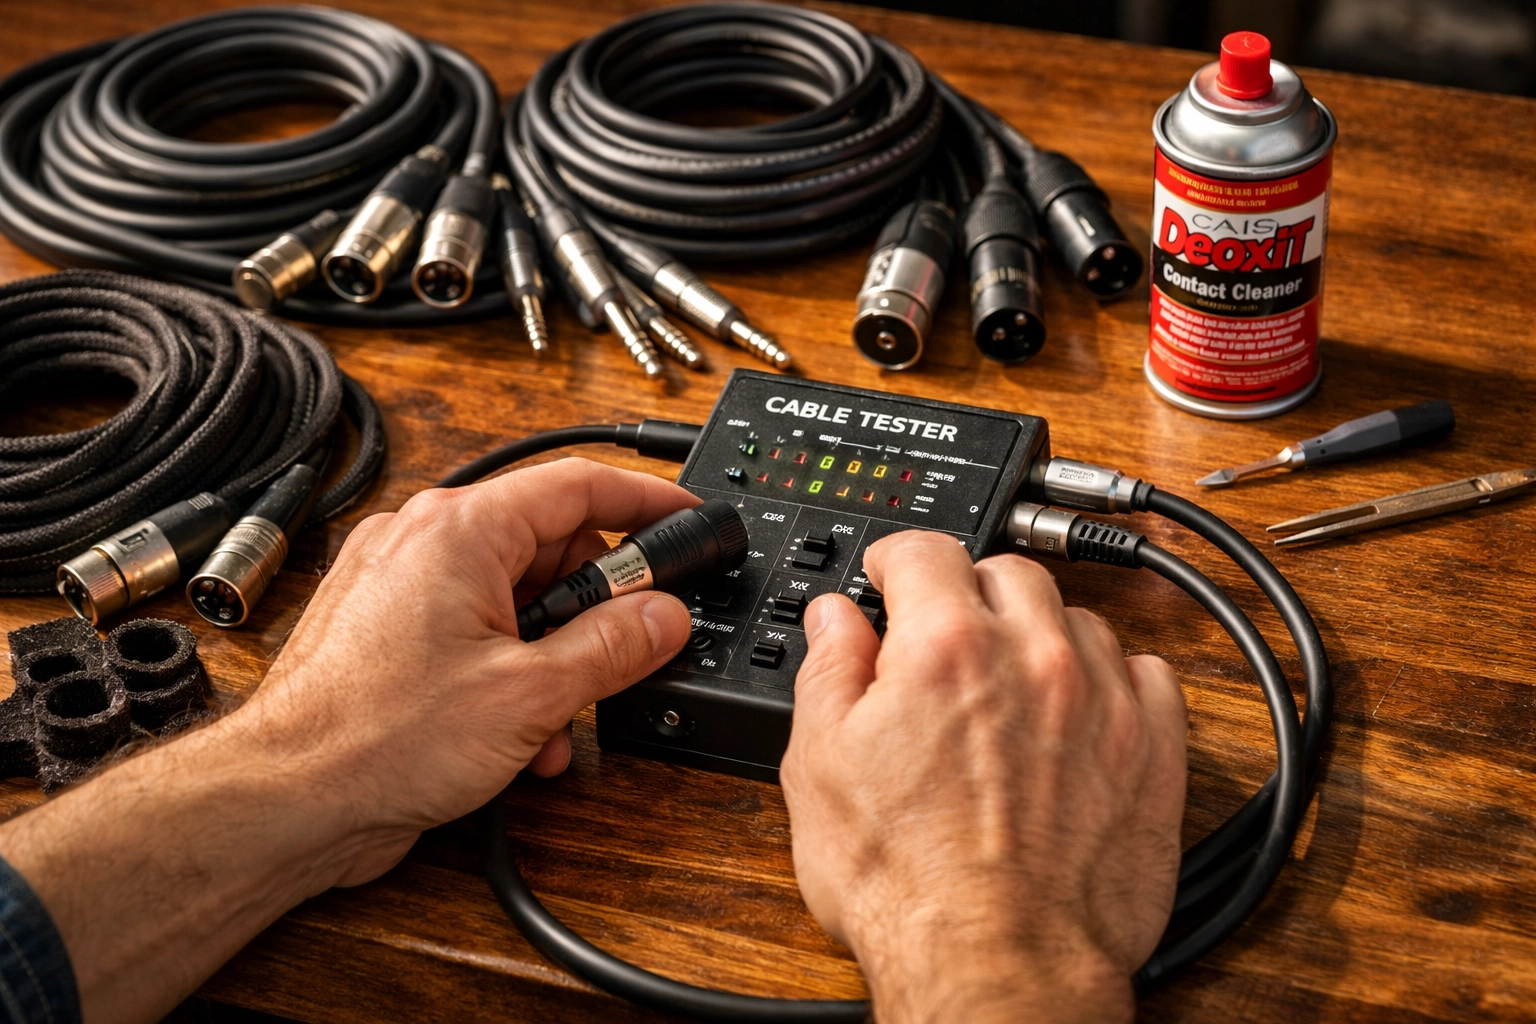
A simple cable tester. For $20–30, you can buy a tester that quickly identifies bad cables without all the swapping and guessing. If you have a lot of cables, this tool pays for itself quickly.
Contact cleaner and zip ties. These aren't glamorous, but keeping connections clean and cables organized prevents future problems. Budget $10–15 for these maintenance supplies.
What you probably don't need: new speakers, a new mixer, or a new amplifier. Unless your troubleshooting definitely points to a failed component (and you've confirmed it by swapping with a known good unit), resist the urge to replace major equipment.
Building Better Habits
Once you've fixed your immediate problem, take steps to prevent future issues:
Label both ends of every cable so you know what goes where
Use velcro straps instead of zip ties on cables you might need to adjust: they're reusable and won't damage cables
Keep a small kit of spare cables in common lengths
Schedule quarterly checkups where you wiggle connectors, clean contacts, and verify everything works before it fails during a critical moment
Sound system maintenance isn't exciting, but spending 30 minutes every few months preventing problems beats spending frantic hours before service troubleshooting failures.
Know When to Call for Help
Some problems do require professional expertise. If you've isolated a component that's definitely failed, if you're getting intermittent issues that you can't trace despite methodical troubleshooting, or if you're dealing with complex networked audio systems, it's time to call in experienced help.
At Timato Systems, we specialize in helping worship communities maintain reliable audio systems without breaking the budget. Sometimes that means a simple consultation that points you toward a DIY fix. Other times it means bringing in the right expertise before a small problem becomes a costly disaster.
The key is knowing the difference: and now you do. Start with the free stuff, be methodical, and don't assume you need to replace equipment until you've proven it's actually broken. Your budget (and your stress levels) will thank you.
Comments