
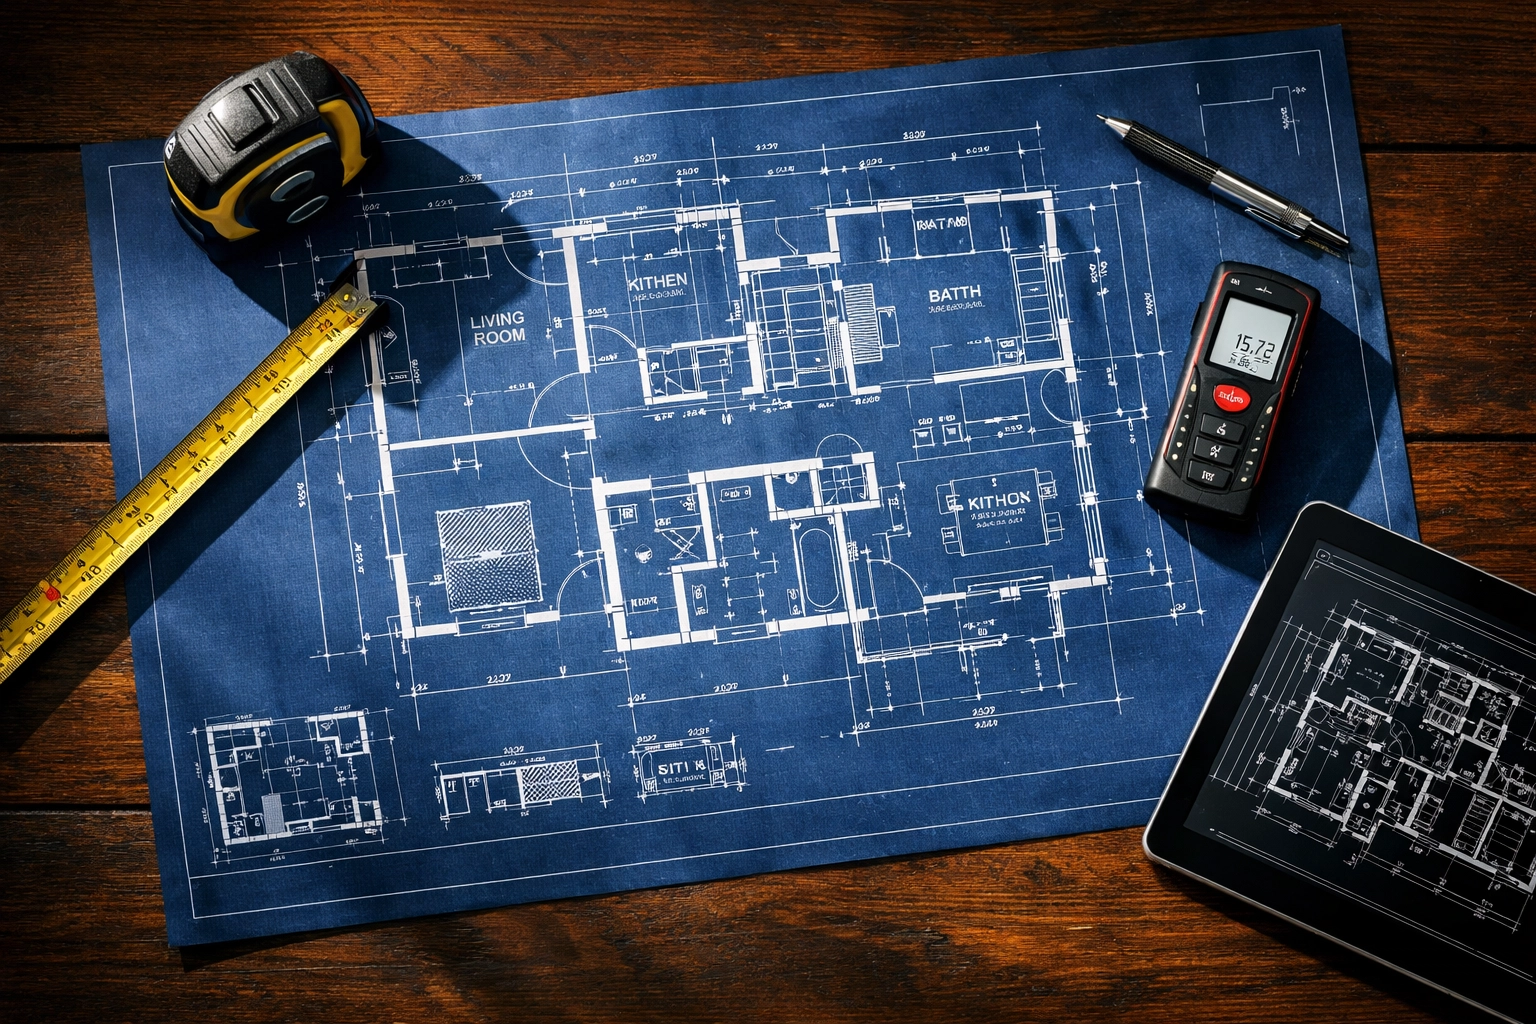
5 Steps: How to Choose LED Video Walls Without Overspending (Easy Guide for Faith Communities)
- Tim Adams

- Mar 2
- 5 min read
Updated: Mar 30
LED video walls are everywhere these days, from mega sanctuaries to medium-sized worship spaces. And for good reason. They're bright, crisp, energy-efficient, and they make a real impact on how your congregation engages with worship content.
But here's the catch: they're also expensive. Really expensive if you don't know what you're doing.
The good news? You don't need an unlimited budget to get a quality LED display that serves your community well. You just need to be strategic about it. In this guide, we'll walk through five practical steps to help you choose the right LED video wall without breaking the bank.
Step 1: Set Your Budget Before You Fall in Love
Look, we get it. You walk into a trade show or watch a demo video, and suddenly you're envisioning a massive 20-foot LED wall behind your worship stage. It looks incredible. Your team is excited. And then you see the price tag.
Here's the reality: the cost of an LED video wall isn't just the panels. You're also paying for:
Mounting structures and rigging
Video processors and controllers
Professional installation
Electrical upgrades (sometimes)
Annual maintenance and repairs
Long-term electricity costs
All of this adds up fast. So before you start shopping, sit down with your leadership team and finance folks to establish a realistic budget. Include a 10-15% buffer for unexpected expenses, trust us, there are always a few surprises during installation.
Once you have that number, you can make informed decisions about size, resolution, and features. You might realize that a slightly smaller display with excellent image quality serves your needs better than a massive wall that maxes out your budget.

Step 2: Measure Twice, Buy Once
This sounds obvious, but you'd be surprised how many organizations rush into purchasing without properly evaluating their space.
Start by measuring the area where you plan to install the LED wall. Consider not just the width and height, but also:
Ceiling height and structural support
Viewing angles from different seating areas
Distance from the screen to the farthest viewer
Existing lighting conditions
HVAC vents or other obstructions
That last point, viewing distance, is crucial. The general rule of thumb is that LED screens work best for larger displays viewed from greater distances. If you're working with a smaller space where people sit relatively close to the screen, a high-quality projector setup might actually be more cost-effective.
Here's a practical tip: for every millimeter of pixel pitch, viewers should be at least one meter away for optimal clarity. So if your farthest viewer is 15 meters away, you can get away with a 15mm pixel pitch and save significant money compared to a 3mm display.
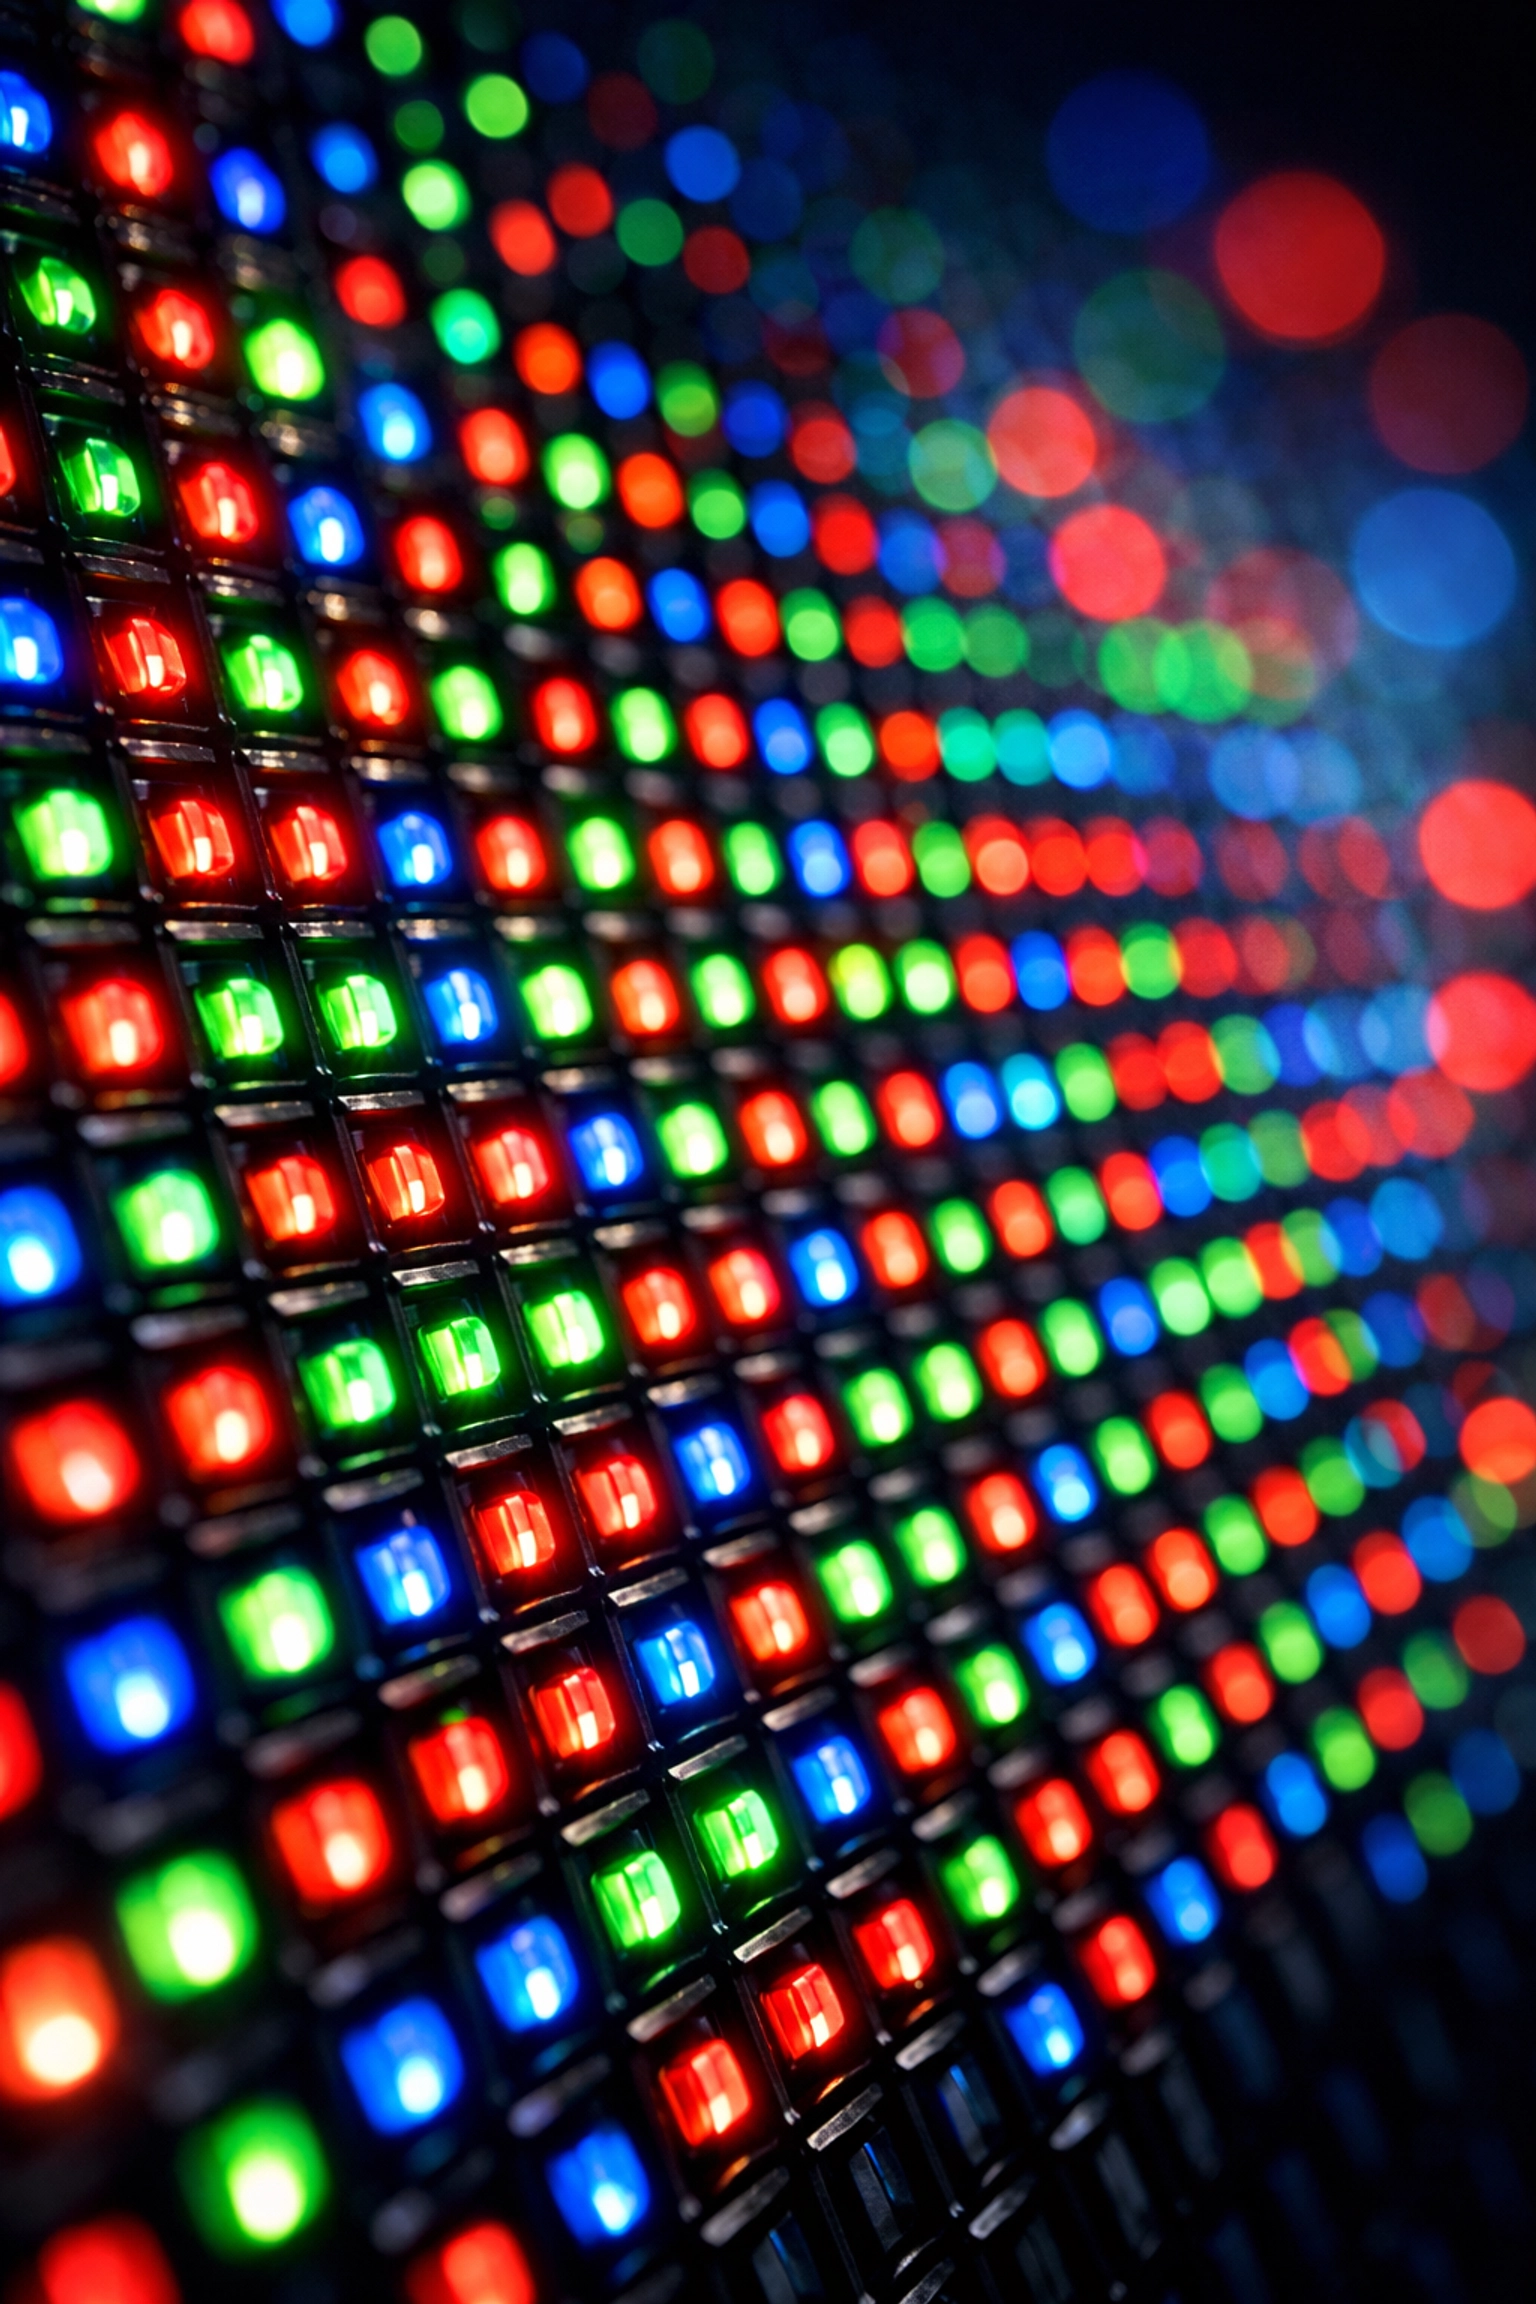
Step 3: Understand Pixel Pitch (It's Not As Complicated As It Sounds)
Pixel pitch is simply the distance between the LED lights on your display, measured in millimeters. The smaller the number, the closer together the pixels are, which means higher resolution and a sharper image.
But here's the thing: tighter pixel pitch = higher cost. Like, dramatically higher.
A 1.5mm pixel pitch looks absolutely stunning up close, but if your congregation is sitting 30+ feet away, they literally won't notice the difference between that and a 3mm or even 4mm display. You'd be paying thousands of extra dollars for resolution nobody can actually see.
So how do you choose? Consider your viewing distance:
2mm-3mm pixel pitch: Great for smaller worship spaces or areas where people sit closer (10-20 feet away)
3mm-5mm pixel pitch: Perfect for medium-sized sanctuaries with viewers 20-40 feet away
5mm-8mm pixel pitch: Works well for larger venues where most viewers are 40+ feet away
Don't let a salesperson convince you that you need the tightest pixel pitch available. Match it to your actual viewing conditions and save your budget for things that matter more, like better color accuracy or higher brightness.
Step 4: Think Long-Term, Not Just Upfront Costs
Yes, LED video walls cost more upfront than projection systems. Sometimes a lot more. But here's where the math gets interesting.
Projectors need lamp replacements every 2,000-5,000 hours depending on usage. If you're running services multiple times per week plus events and rehearsals, you're looking at $500-$2,000+ in lamp costs every year or two. Over a 10-year period, that adds up to $5,000-$20,000 just in bulb replacements.
LED displays? They typically last 50,000-100,000 hours with minimal degradation. No bulbs to replace. Ever.
The electricity costs tell a similar story. LED technology is remarkably efficient, often using less than half the power of an equivalent projection system. Depending on your usage patterns and local electricity rates, this could save hundreds or even thousands per year.
When you factor in the longer lifespan, lower maintenance requirements, and reduced operational costs, LED displays often come out ahead financially: even with their higher initial investment. Run the numbers for your specific situation over a 10-year timeline. You might be surprised.
Step 5: Partner With Proven Brands (And Proven Integrators)
This is not the place to go bargain hunting on unfamiliar overseas brands with no U.S. support. When you're making a five or six-figure investment, reliability matters.
Stick with established LED manufacturers that have proven track records in worship environments:
Samsung
Planar
LG
Leyard
Mirackle
Maxhub
These companies offer proper warranties, accessible technical support, and replacement parts when you need them. They've also been tested in thousands of installations, so you're not being a guinea pig.
But here's the other critical piece: work with an experienced AV integrator: not just a reseller. A good integrator will:
Help you right-size your system for your actual needs
Design proper mounting and rigging solutions
Handle video processing and signal management
Integrate the display with your existing systems
Provide training for your team
Offer ongoing support and maintenance
At Timato Systems, we've been helping faith communities navigate these decisions for years. We've seen what works, what doesn't, and where money gets wasted on features nobody actually uses.
Don't Forget These Often-Overlooked Costs
Before you finalize your decision, make sure you've budgeted for:
Video processing: A quality processor can cost $5,000-$15,000+ but is essential for smooth operation
Content management: Software and systems to actually get content onto your screen
Training: Your team needs to know how to use the system effectively
Spare modules: Having a few replacement LED panels on hand prevents expensive downtime
Insurance: Check with your carrier: this is valuable equipment
Making the Final Decision
Choosing an LED video wall doesn't have to be overwhelming. Start with a clear budget, measure your space carefully, match your pixel pitch to actual viewing distances, consider long-term costs, and work with reliable partners.
The goal isn't to get the biggest or highest-resolution display possible. The goal is to find the right system that serves your community's needs, fits within your financial constraints, and delivers reliable performance for years to come.
Need help evaluating options for your specific space? We'd be happy to walk through the numbers with you and provide recommendations based on your actual requirements: not just what looks cool in a demo video.
Your congregation deserves clear, engaging visuals that enhance worship. With the right approach, you can deliver that without overspending.
Comments