


How to Make Any Space Camera-Ready for Livestreaming & Recording
- Tim Adams

- Sep 22, 2025
- 5 min read
Updated: Mar 30
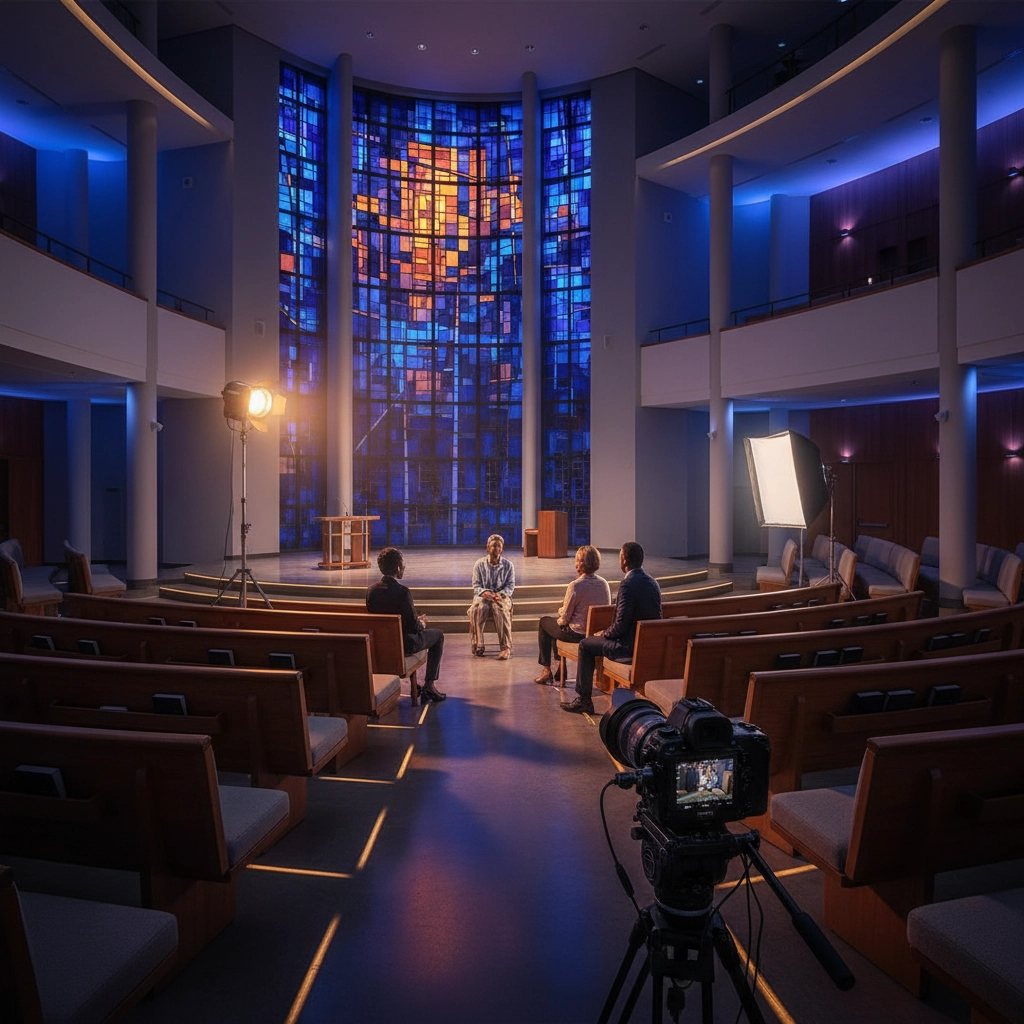
Whether you're setting up a worship service livestream, recording educational content, or creating professional presentations, transforming any space into a camera-ready environment doesn't have to break the bank or require a complete room makeover. With the right approach and some strategic planning, you can achieve professional-looking results in almost any setting.
Start with Your Space Assessment
Before diving into equipment purchases, take a critical look at your available space. Walk around the room during different times of day to understand how natural light changes throughout. Notice any distracting elements in potential camera angles – busy wallpaper, cluttered shelves, or high-traffic areas where people might accidentally walk through your shot.
The size of your space will largely determine your camera positioning options. Smaller rooms require wider-angle lenses and careful positioning to avoid feeling cramped on camera, while larger spaces give you more flexibility but may require additional lighting to fill the area properly.
Consider the acoustics too. Hard surfaces like concrete walls, tile floors, or large windows can create echo and unwanted reflections. Soft furnishings, carpeting, and even strategically placed blankets can dramatically improve your audio quality without major renovations.
Master Your Lighting Game
Lighting makes or breaks your video quality, and it's often where amateur setups fall short. The good news? You don't need expensive studio lights to achieve professional results.
Start by working with existing light sources. Position yourself facing a large window for soft, natural lighting during daytime recordings. If the light is too harsh, hang a sheer curtain or white sheet to diffuse it. For evening sessions or windowless spaces, position two desk lamps or floor lamps at 45-degree angles on either side of your camera position.
Avoid overhead lighting whenever possible – it creates unflattering shadows under your eyes and nose. Similarly, never position yourself with a bright window or light source directly behind you, as this will turn you into a silhouette.
For more consistent results, invest in a simple three-point lighting setup: a key light (your main light source), a fill light (to reduce shadows), and a background light (to separate you from the backdrop). You can achieve this with basic photography lights, or even well-positioned household lamps with daylight bulbs.
Audio Setup That Actually Works
Great video with poor audio will lose viewers faster than you can imagine. Your built-in camera or computer microphone simply won't cut it for professional results.
The easiest upgrade is a lavalier (lapel) microphone that clips to your clothing. These pick up your voice clearly while staying out of the camera frame. For slightly more investment, a shotgun microphone mounted on your camera provides excellent directional audio pickup.
If you're recording in a space with hard surfaces that create echo, consider adding temporary sound dampening. Hang heavy blankets on stands behind the camera, place rugs on hard floors, or even record with a backdrop that includes sound-absorbing materials.
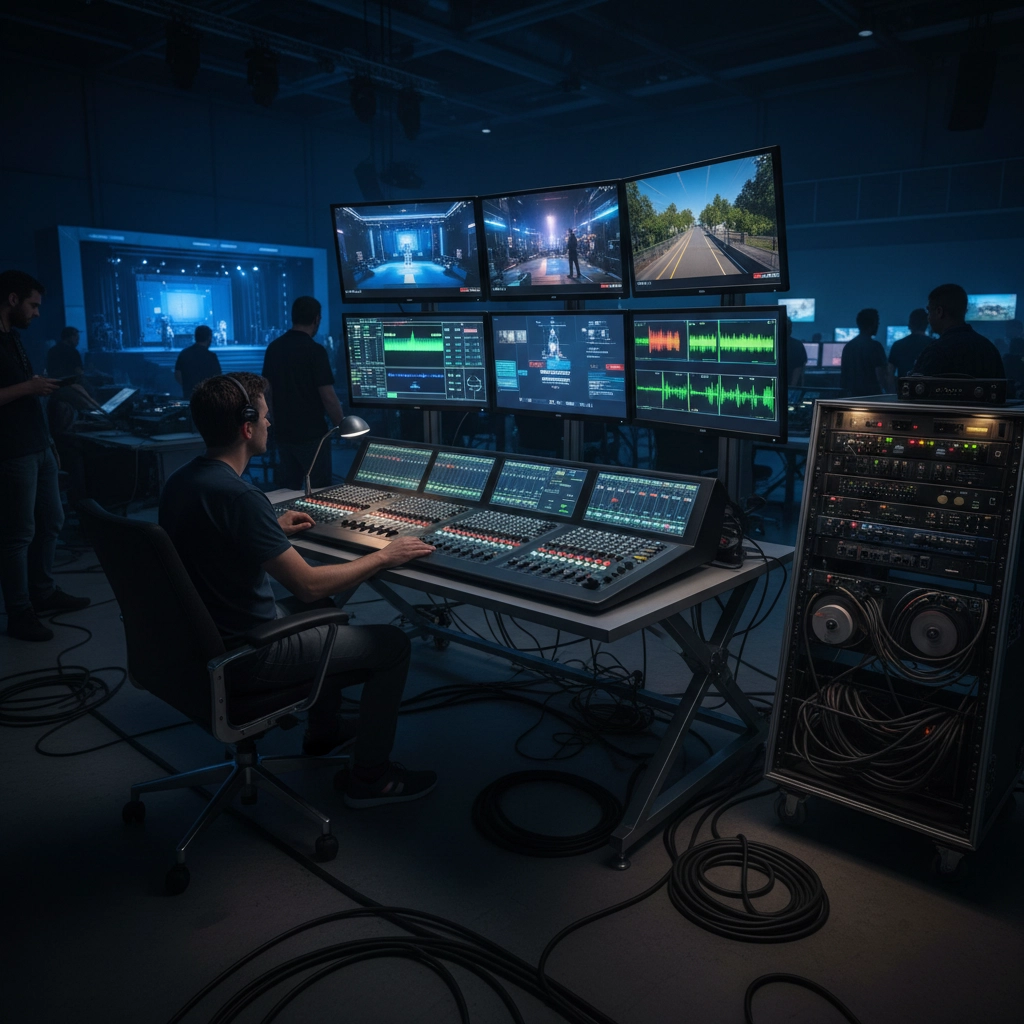
Test your audio levels before going live. Your voice should peak around -12dB to -6dB, leaving headroom for louder moments without distortion. Most recording software includes audio meters to help you monitor levels in real-time.
Camera Positioning and Equipment
Your camera placement determines how engaging and professional your content appears. Position cameras at eye level when you're standing or sitting in your normal presentation position. Too low creates an unflattering upward angle, while too high makes you appear diminished.
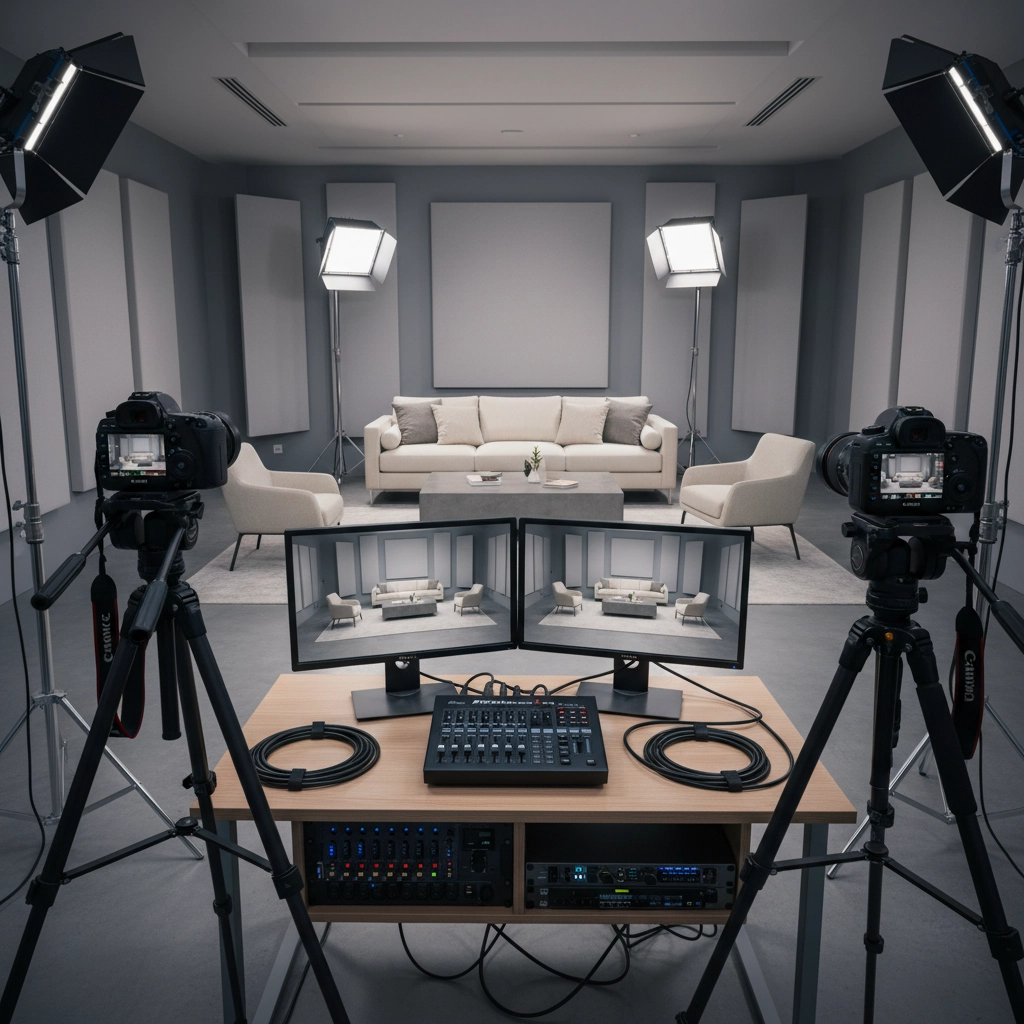
For single-camera setups, center your camera with your primary speaking position. If you'll be moving around, consider a wider shot that accommodates your movement range. For multi-camera productions, establish your primary angle first, then add additional cameras at complementary angles – perhaps a wide shot and a close-up, or two different perspectives of your presentation area.
Stability is crucial. Even small movements or vibrations become distracting on video. Use tripods, camera stands, or stable surfaces. If you're using smartphones as cameras, invest in phone tripod adapters – they're inexpensive but make a dramatic difference in footage quality.
Consider your depth of field as well. A slightly blurred background (achieved with wider aperture settings) helps separate you from the backdrop and creates a more professional appearance than having everything in sharp focus.
Background and Visual Aesthetics
Your background should support your message without competing for attention. Simple, clean backgrounds work better than busy or cluttered ones. A plain wall, professional backdrop, or bookshelf with neatly arranged items all work well.
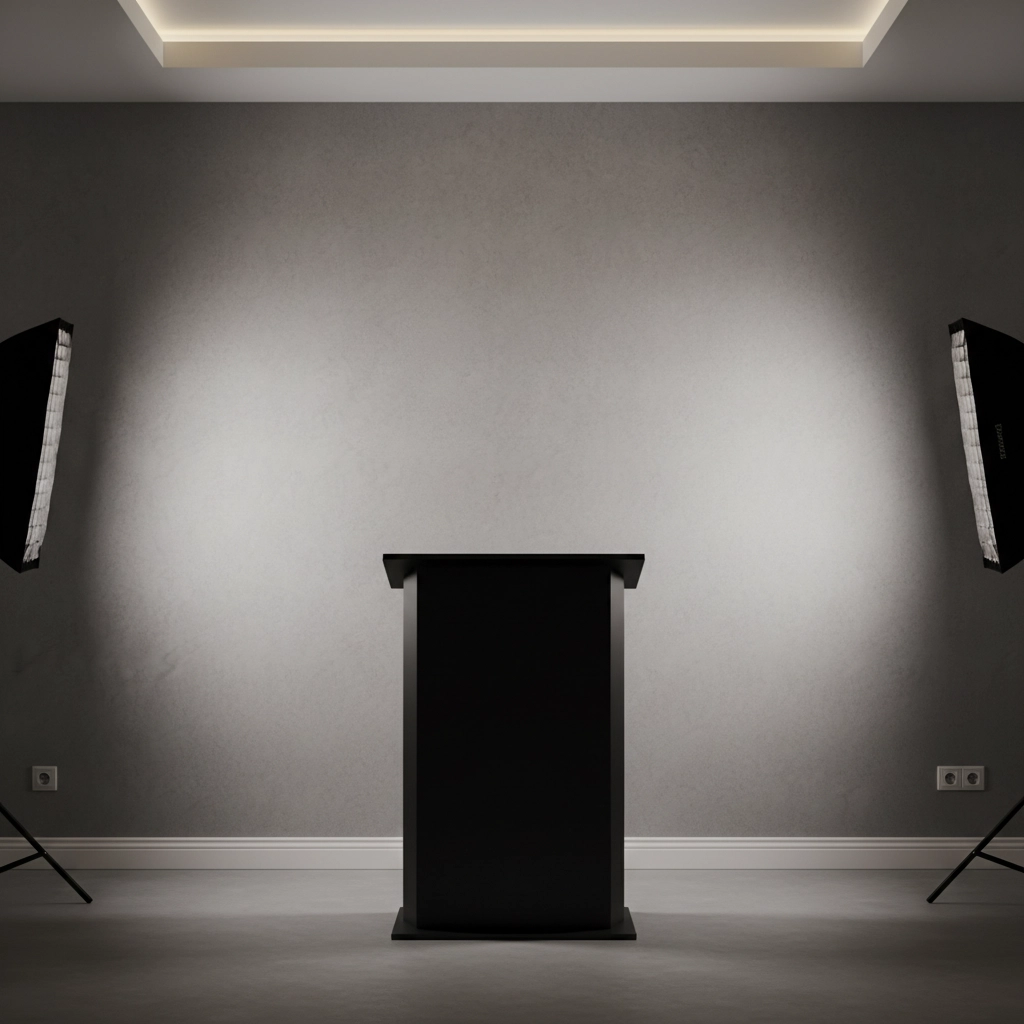
If you're stuck with a less-than-ideal background, create separation with lighting. A light aimed at the wall behind you can create visual depth, while keeping you well-lit from the front ensures you remain the focal point.
Consider color psychology in your backdrop choices. Blues and grays convey professionalism and trust, while warmer tones create a more approachable feel. Avoid wearing colors that blend with your background, and be mindful of patterns that might create visual noise on camera.
Plants, artwork, or branded elements can add visual interest when used sparingly. The key is creating a backdrop that looks intentional and professional without being distracting.
Technical Setup and Connectivity
Your technical infrastructure needs to support reliable streaming and recording without hiccups. Start with your internet connection – upload speeds of at least 5-10 Mbps are recommended for quality livestreaming, with higher speeds providing better stability and quality options.
Use wired internet connections whenever possible. Wi-Fi can be unreliable during critical moments, and the last thing you want is a dropped connection during an important presentation or worship service.
For multi-camera setups, consider investing in a video switcher or mixer that allows seamless transitions between camera angles. These devices let you switch cameras, add graphics, and control audio levels all from one central location. While software solutions exist for computer-based switching, hardware switchers often provide more reliable performance and dedicated controls.
Organize your cables and connections to prevent accidental disconnections. Label everything clearly, and consider having backup cables readily available. A simple cable management system keeps your setup looking professional and reduces the risk of technical difficulties.
Testing and Optimization
Before your first important recording or livestream, run multiple test sessions. Record sample footage at different times of day to see how lighting changes affect your image quality. Test your audio levels with different voice volumes and distances from microphones.
Create a pre-recording checklist that includes camera settings, audio levels, lighting positions, and backup equipment checks. This routine ensures consistency across all your productions and helps prevent last-minute technical issues.
Monitor your setup during actual use and make notes about what works well and what needs improvement. Small adjustments to lighting angles, camera positions, or audio settings can make significant differences in your final output quality.
Making It Sustainable
Creating a camera-ready space that you can use repeatedly requires thinking about setup and breakdown time. If you're using a multi-purpose room, design your setup so it can be quickly assembled and stored. Consider rolling carts for equipment, cord management systems, and clearly labeled storage for all components.
Document your optimal settings for cameras, lighting positions, and audio levels. Take photos of your setup from multiple angles so you can recreate the same configuration quickly. This documentation becomes invaluable when different team members need to operate the equipment.
The investment in making your space camera-ready pays dividends in the professional quality of your content and the confidence it builds in your audience. Whether you're reaching congregation members who can't attend in person, creating educational content, or conducting professional presentations, a well-prepared space ensures your message comes through clearly and professionally.
Remember that perfection isn't the goal – consistency and clear communication are what matter most. Start with the basics, test thoroughly, and gradually upgrade your setup as your needs and budget allow. Your audience will appreciate the effort you put into delivering quality content, regardless of whether you're using basic equipment or professional-grade systems.
Comments